How did you use new media TECHNOLOGY in the construction & research, planning & evaluation stages?
Final Cut pro
|
For much of our work we required an editing software that we could construct our films from. This is where we used the Editing Software, Final Cut. This editing software provides an intensive and detailed ability to create the videos we needed. It has many tools at it's disposal which helped create the atmosphere and theme of our trailer. This software was used on an Apple Mac which meant the computer was perfectly suited to handle all of the editing we had to do.
|
|
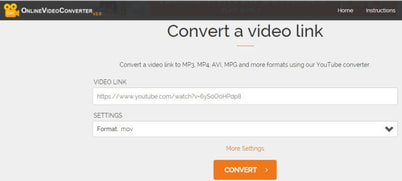
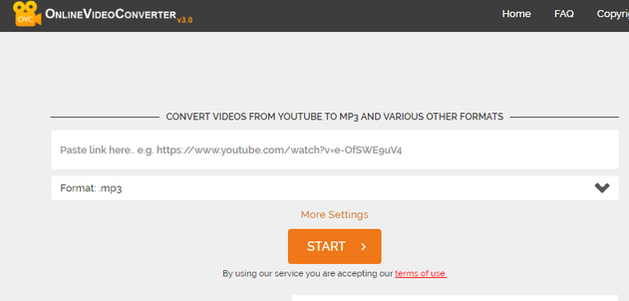
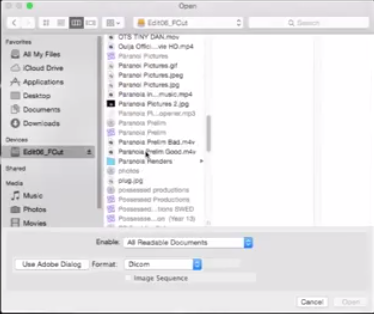
In this video we firstly, had to acquire a video to edit. This was done by using the website called OnlineVideoConverter which allowed us to convert a YouTube video from the internet and download it straight to our computer. To use this all you have to do is enter the URL of the video from YouTube and click covert. Then it will automatically convert it into your desired format. For a video most of the time MP4 is the best format, however, there are other options for different software such as .MOV. Once chosen, click download which might open a window which you should close immediately as they can contain ads that can provide problems. There are other converting sites that do a similar job as some sites can be temperamental and might not convert the video you select. These files usually download to the default directory which should be in the folder "Downloads". To insert the clip into Final Cut Pro you have to locate the clip and then drag it to the timeline. Alternatively you can use the import button on Final Cut which can be found under "File", "import" and then "media...". Then you can located the file and it will automatically import to Final Cut Pro. Once this is done you can then begin editing.
|
|
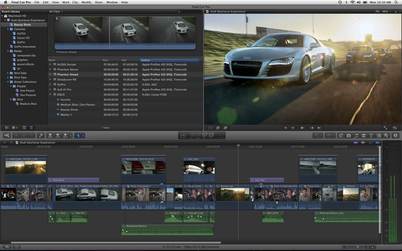
In my screencast, I used a single video in which I manipulated in various ways. However, almost all editors use multiple clips which provides a wider variety of opportunities. To do this you will have to import more clips using the method I mentioned previously. Once imported you can drag and drop these clips onto the timeline. You can then change the length of these clips which will cut the end you're video off if you start shortening. Furthermore, you can change these clips and take out different parts of the clip. To do this you can either press "B" which is known as the "Blade" tool. This will allow you to separate a single clip into two. You can then delete the selected clip by pressing the Backspace key. Once these changes have been made we can begin to change the look and colour of each clip.
|
|
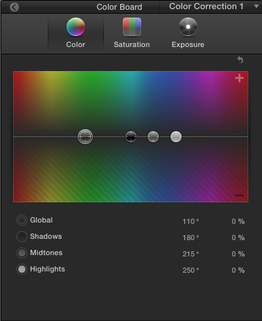
Once we have cut and trimmed the clip to our liking we can now begin the colour correction which is an editing tool found in the effects section of Final Cut Pro. Here you can see three different tabs which allow for change in Colour , Saturation and Exposure. Each of these can be manually changed using the four pointers which alter each aspect of the clip. Our trailer utilised this effect as we had to keep consistant with the present theme. Colour allows you to change the colour completely, affecting different aspects of the clip. These are shown below through Global, Shadows, Midtones and Highlights. Global covers the entire clip in your desired colour. Shadows change the darker, less prominent colours. Midtones changes the medium luminosity clips and Highlights the lighter areas. Saturation allows for a change in how vibrant the colours are. This is useful when attempting to make something appear more dull. Finally, exposure allows you to determine how bright the clip is and the amount of white is visible. These can all contribute to fit a wider theme and appear consistent with the entire project.
|
|
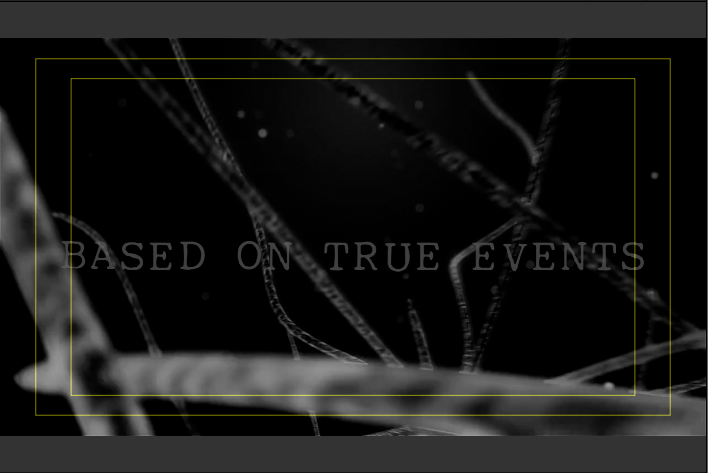
The yellow lines you see in the screenshot adjacent to this picture is called the Action Safe Zone. They show you what the film would look like on different devices, therefore, you can adjust elements so that they are visible on all devices. To access this you have to go to click "View" located in the top right corner of the viewing area. That should open a drop down menu where, located at the bottom, should be a button called "Show Title/Action Safe Zones". These then appear on your screen. For example if you were to view the video on a device such as a phone then the screen would be smaller than usual. This then helps you align text to fit on all devices.
|
|
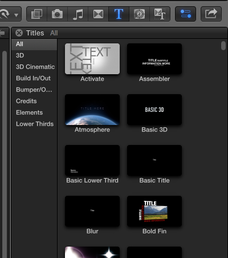
Next we will add text to our project. This can be found in the text pannel. When I added text I made sure to use the Action Safe Zones to determine where my text should be. This makes the video accessible to users on all devices. To add our text we first have to choose which text we would like. There are many options but for the sake of this screencast I chose to use the basic text. Once you've selected your text, drag it onto the timeline where we can begin to manipulate it. For the text to be visible I positioned it above the video I wanted to be in the background. Once you've added the text you can then change many different elements, such as the colour, size, font and alignment. Once the text is in the desired place, we can move onto the transitions.
|
|
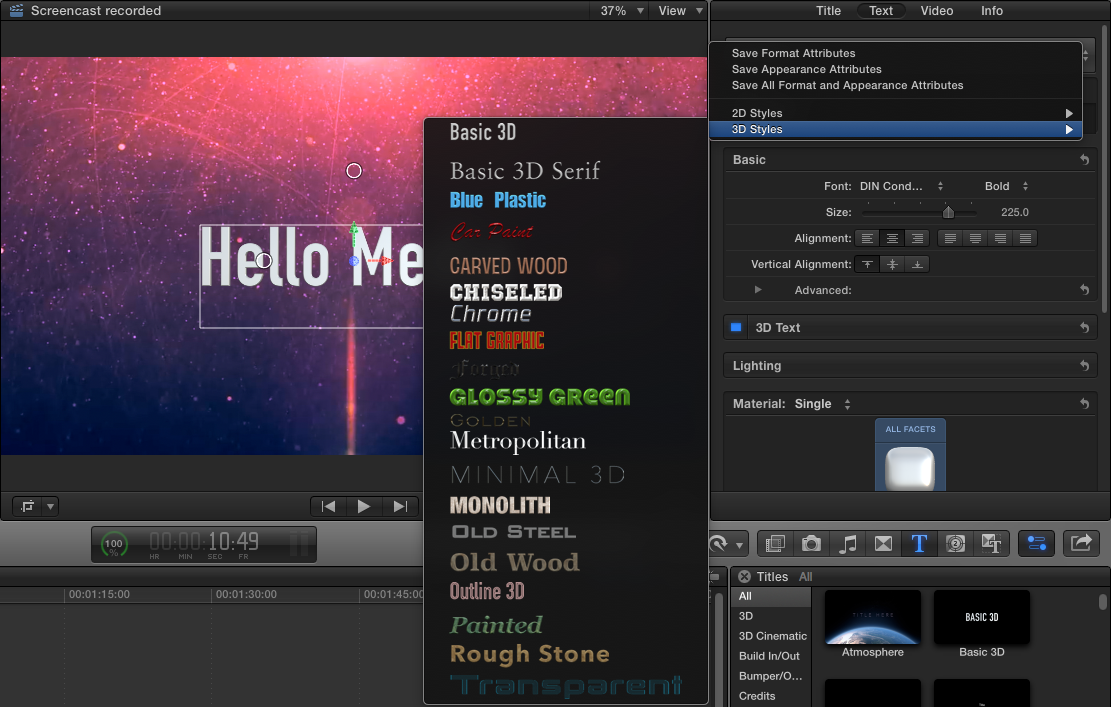
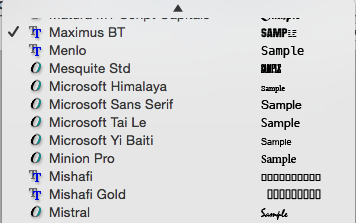
There are many different ways you can change the text to fit how you like. For example, in the screenshot to the left you can see various types of text you can have. These range from 2D styles to 3D styles with all sorts of types to fit all genres. However, you can also change the font. The fonts can be found on the panel on the top right when you select the desired text. Furthermore, you can change the text to Italic or Bold to give it more impact. This helps with titles to give them a unique twist. If you want a more of a textured look then you can change that to a wide variety of different materials and formats.
|
|
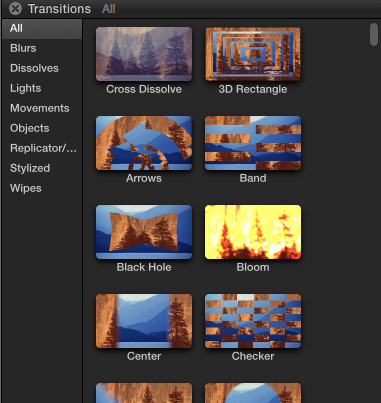
The next part of the video displayed the use of Transitions. You can use these to introduce each clip and make them more interesting. They can also be used for effect to add impact or for a more atmospheric effect. To add a transition to your timeline you can select the transition you want from the panel in the image on the left. Then you can drag the selected transition onto the timeline and the clip you want to change. This is then applied. You can also add transitions by using the key bind 'cmd T' which will add a transition to the clip you have selected. This can help you to edit more efficiently. There is a large variety of different transitions to choose from. These can range from Arrows which changes the clip by an outline of arrows across the screen, to light sweep which causes an artificial light to cross the scene and the next clip to appear around it. In this video I used the Bloom transition which added a glow effect to the text as it flew in. In our trailer I used this for text but not clips as it took away from the atmosphere and pacing of the trailer.
|
|
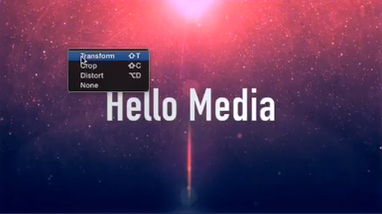
Now that we have most of the clips in place with text, music and transitions, we can alter how zoomed in the video is. This is shown through the use of "Ken Burns" which essentially means transforming the clip so it appears more or less zoomed in. To do this you can either select the clip and right click, then select "Transform". You can also use the key bind "shift T". Once this has been done you can change the size of the clip by clicking and holding a corner or side point to adjust the size or rotation. You can also move the clip itself so that you can then place multiple clips on one screen simultaneously.
|
|
The video so far seemed a bit boring so I thought we should add some music to the clip. To do this I visited YouTube and chose some music to add. Once I had selected the music I wanted, I visited the YouTube to MP3 converting site where it allowed me to download the song. To do this you have to copy the URL (Website Link) and paste it into the converter website. Then click convert. Once converted it should download. Now that you have downloaded the music you want you can place it onto the timeline. You can then position it where you desire.
|
The tools and techniques shown in the video aren't the only things you can do on this editing software. There is a much larger range of other ways you can manipulate the videos you are using. Many of these techniques plus others have allowed me to create a wonderful trailer as well as effective evaluation videos. I have also used many of it's effects and transitions in my trailer to allow for a much more realistic and effective atmosphere. The ability to edit sound and add text also adds to the how a professional editing software can do so much.
Weebly

|
Weebly is one of the most popular website creating tools out there. It provides each user with a large range of various tools to allow them to create a website for all their needs. Much of the websites features allow you to construct a website using their built in functions for free. This means any person can use this website for whatever purpose. Whether that be a business, portfolio or just personal use. However, if you require more features than you can pay a premium to give you further access to more features that can improve your website and make it look more professional. Moreover, you're not just limited to one website but you can make several. This gives the user flexibility. The layout itself holds host to a vast array of options and features you can implement on the left side of the screen. These allow you to add text, images, videos, maps, newsletters and many other types of media. However, on the free version of the account you are limited to certain features. For example, only certain types of media are available. If you wanted to implement a HD video then you would have to upgrade your account to a premium account. Furthermore, you're also limited to 15 pages for your website. Despite this, you don't need a premium account to create an effective website. Many options for customisation are made available with a free account. These include changing each individual page from selecting a theme that spans across the entire website.
|
|
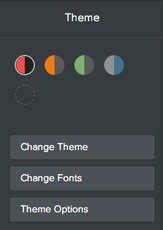
Firstly to make the website your own we have to select a theme. This theme is then present throughout your website and sets the tone for all of your pages. This does affect most of page and how the layout is presented. You can also change the colours as well as the fonts which can really change the feel and look of the website. For our main page we used the black and white theme and implemented a header on the top of the page so that you can tell exactly what the page is. Furthermore, we used a gif for the main title page as it has our title and our image for our production company. For many of the other pages we kept the main header the same so we had our production company present throughout the website. However, each of the titles were changed to fit each page.
|
|
In our website we used many different pages, which we added various paragraphs explaining our trailer and it's elements. This was all done through the pages tool which is located at the top of the website on the navigation bar. You can add many different pages which have individual headers and images that you can have in the background. You can then add elements to each of the pages. Moreover, you can move the pages in the navigation bar on the left and reposition them in any order you'd like. You can also move the page slightly for them to become sub-sections of the main page. In our website this was useful to define each section and make it visible what page was part of which section. If you don't like a page you can delete it by selecting the page and clicking the delete button.
|
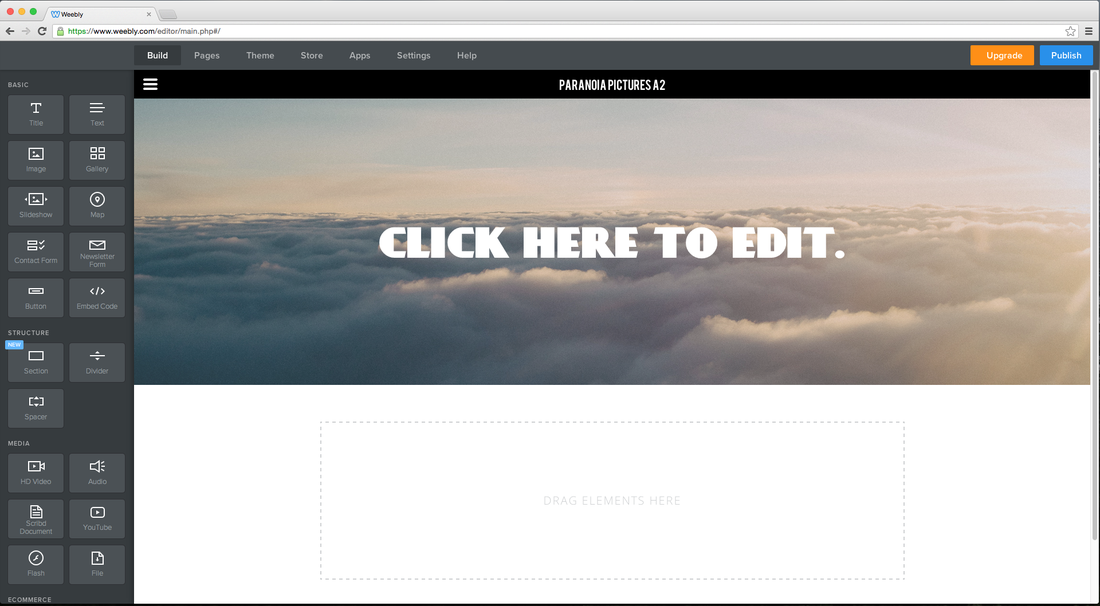
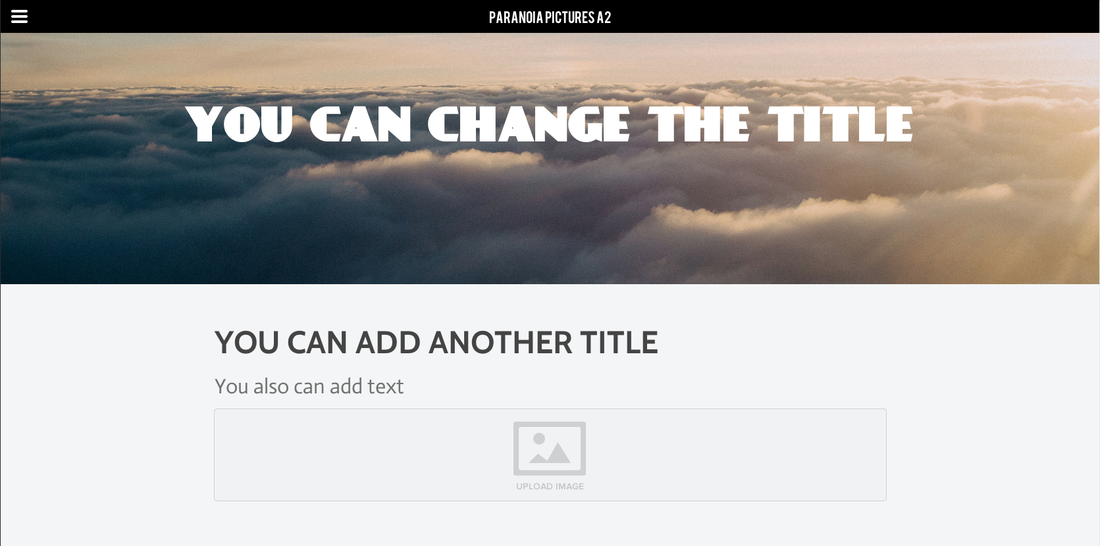
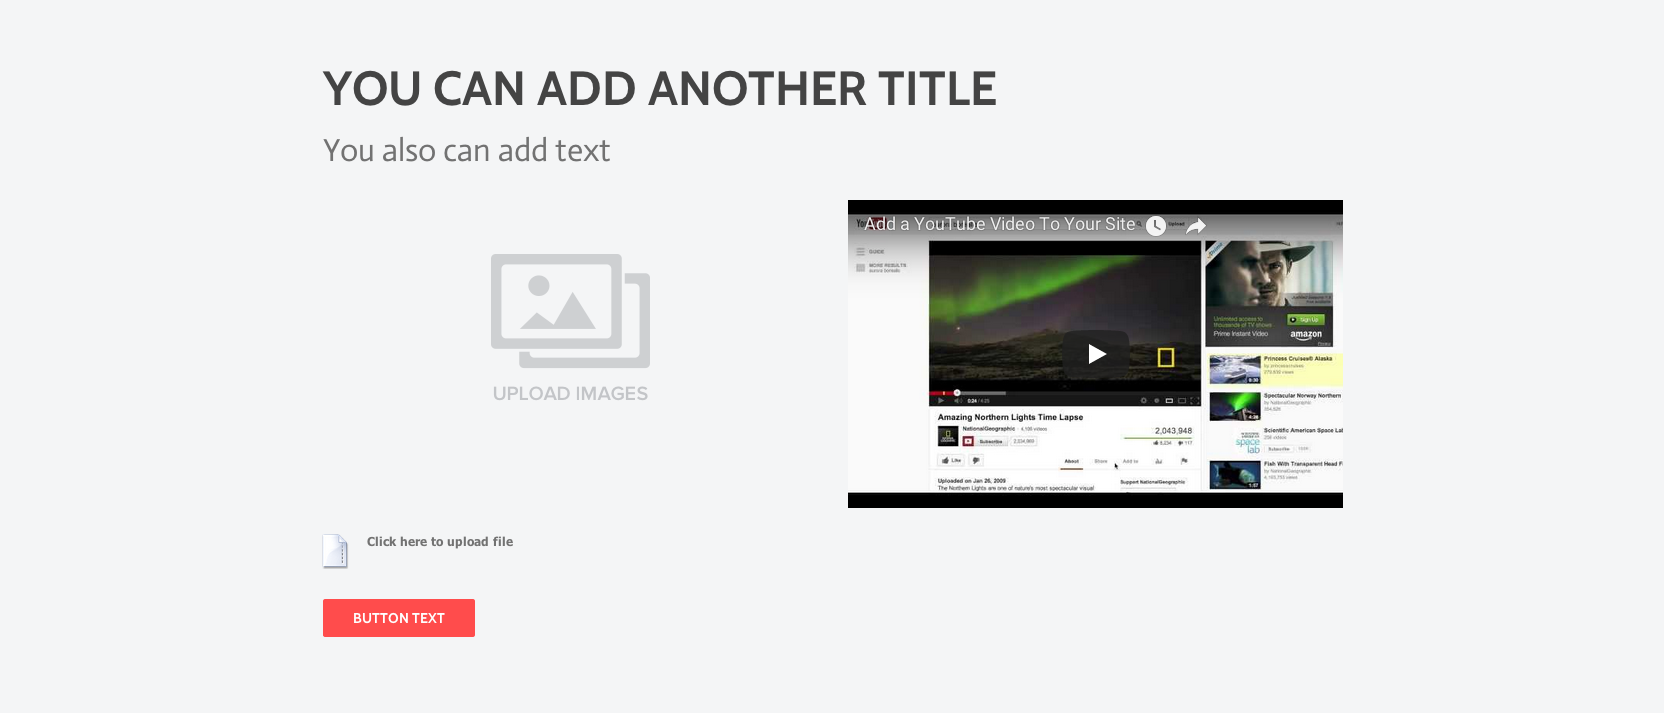
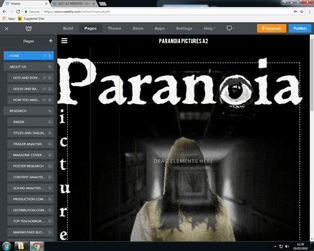
The three screenshots above show you just a peak at what elements you can add to your pages on Weebly. In the first screenshot you see what a traditional basic page looks like. This is ripe for all sorts of elements to be added and you can also customise the title and the image in the background. In the second screenshot you can see i've added a sub-title separate from the page title which allows you to better define what is said or shown on the page. You can also add text elements to allow you to implement information. I also added an image box which is where you can upload an image to make your page more interesting or show what you're explaining. The final screenshot shows that you can also add more images and make it into a gallery or slideshow which will either display all the photos and you can click on the ones which you'd like to view or they will scroll through each photo individually. Additionally, i added videos which make your pages more interactive. To do this all you have to do is click on the video box and implement a URL taken from YouTube of your desired video. It also makes your pages more appealing. In addition you can also add documents if you'd like to link a PowerPoint or Word document to your website or any other document. This can be accompanied by a button to help you navigate or link you to another website. These are all the elements we used on our website. However, you can add many more to help create your website.
|
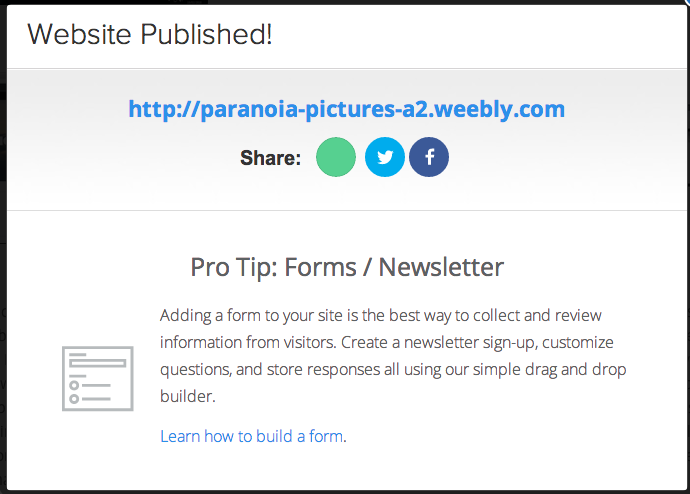
Now that we have all the elements in place we need to make the website available to the internet. This is done by clicking the 'Publish' button located in the top right corner. This button then saves your work and makes it available online at the link displayed.
|
The combonation of all these different elements and tools allowed me to create an effective website for our production company Paranoia Pictures. It provided many different features that meant I could add all the various media I wanted. From images to videos to text and titles. The website was simple to set up and navigate and make navigation easy for any people who visit my website. The website also give me enough space to add everything I needed for our trailer and the research, planning and evaluation.
Photoshop
|
|
Photoshop is an photo editing software where you can change the entire look of a photo through various tools. We used these tools to create advertising material for our trailer. These were in the form of a poster and a magazine cover. The use of photoshop allowed our poster and magazine cover to not only look professional but eye catching as well.
The first step in constructing a poster was selecting the size of the document you want. This is determined through the dimensions you select which can be pixels or inches. You can then choose what size of paper you would like. However, when selecting your photo make sure you use a picture with large dimensions. This will make sure your photo is good quality. No one will watch a film with a low resolution image. |
|
To open an image you have to go to the menu in the top left and select file. Then go to open and you will then need to find the image you want. This image will then appear on the screen and you can begin editing. With photoshop you can create several elements at once. This means you can then compile all the elements together in one document at then end. This helps when creating advertising elements because you can edit the title and the picture at the same time in different windows.
|

|
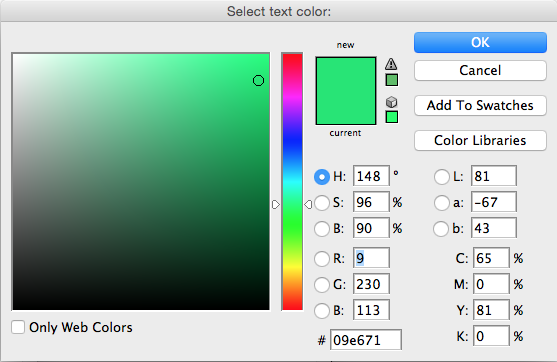
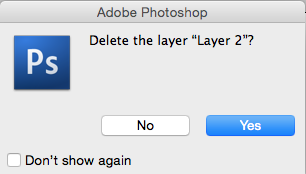
When creating our poster and magazine we had to implement several different types of text. This would be the basis for our title, credits and other text elements. To add text to your image, as shown in the video, locate the text button on the left panel which should look like a 'T' and then select where you want that text to be. Then type the text you would like to implement into the image. This text can then be altered to look how you wanted to. For example, you can change the colour by going to the top and clicking the coloured box. You can then select a specific colour from the colour box by selecting the colour from the right and changing specifics such as white balance and RGB numbers. However, you can just drag to select what colour you want. This is done by choosing the colour on the rainbow line on the right and then choosing the luminosity of the colour in the box on the right. After choosing a colour you can then change the font and if you want the text to be bold, underlined, written in italics or not. To change this you can click the button with a drop down box to select the form you want. You can also change the font from tab, shown in the image to the left. There are hundreds of fonts to choose from allowing to make your text unique and iconic. You can also change the size of the text which helps when creating different formats such as titles or sub-titles. However, the size won't exceed 72 so you can enter your own size by typing or by pressing cmd + t which allows you to enlarge all of the text as a box. Furthermore, if you wish to rotate or move the layer you can also use 'Transform' or 'cmd' + 'T'. This allows you to transform the layer freely. If you are working on multiple layers and wish to hide the layer, then you can move to the panel on the right and click the button that looks like an eye. This won't delete the layer but it will hide it temporarily.
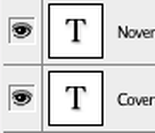
You can move the layers around to highlight which layer you want to be the most visible and in front of the other texts and which you want to be less visible and behind the other layers. If you do not want a layer anymore, you can delete it by pressing the rubbish bin on the bottom right hand corner. This will then delete the layer. In this section you can also change the opacity of a layer this means you can make it look faded and less visible. You can also edit many other options to make the layer exactly how you want. These are called blending options. These range from adding a drop shadow which adds a shadow behind to adding a pattern overlay which places a pattern over the top of your layer. All of these options can be edited in detail which allow you to get exactly what you want from the layer. This can be particularly useful in creating iconic and unique text.
|
|
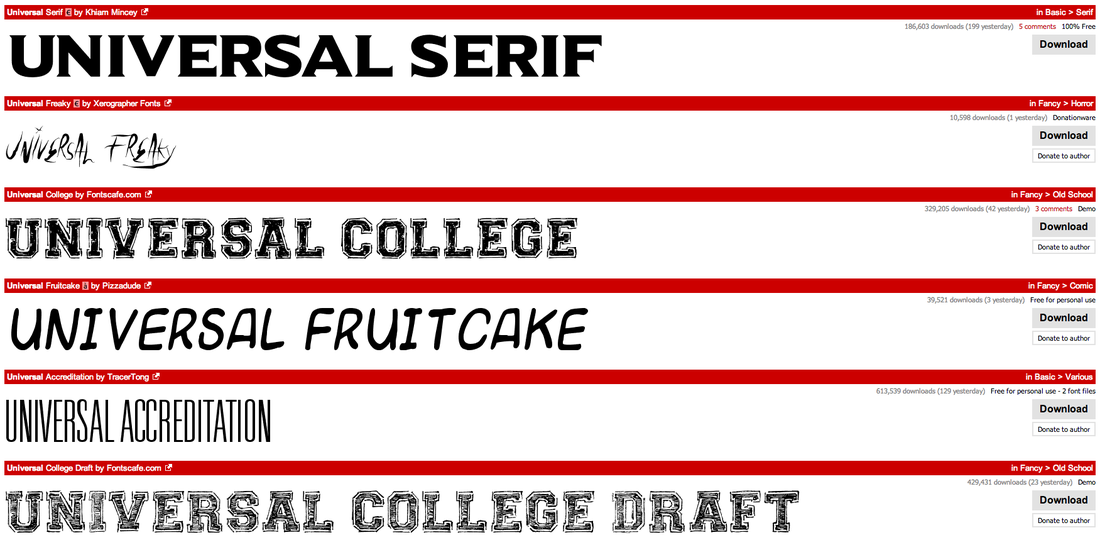
In the creation of our poster and magazine we required the use of a unique and iconic font. This meant we had to visit DaFont which is a website known for hosting a wide range of fonts to download and use. To do this you will need to visit their website at https://www.dafont.co.uk/. Once you're on this website, you have to search for the universal accreditation font. This font is used for the credits at the bottom. Once you have downloaded the font you will have to restart photoshop. This will make the font available in photoshop automatically. You will have to find the font in the drop down box. However, with Universal Accreditation you have to use caps lock to make the font type what you want to say and not random credits.
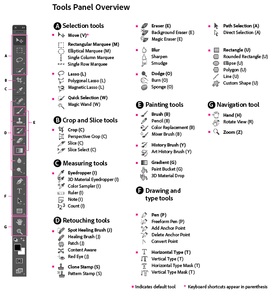
There are many other tools found in Photoshop which we used to create the poster and magazine. All of these tools can do different things which can help in creating the image you want. You can use tools to select, paint/draw, stamp, erase, blur, add gradient, smudge, add text and many more. However, we mostly used selection tools as well as effects tools to allow for a more ominous look.
|
All of these techniques allowed me to create two different forms of media that advertised our film and supported the trailer. The software itself enabled me to do so and allowed me to add elements such as unique titles, effective and sinister images and barcodes.
Quicktime Player

|
To create the videos above and capture the screen I used a piece of software called QuickTime Player. This player allows you to view media as well as record the screen. You can also record the audio or both at the same time. This meant I could create these tutorial like videos by using screen recording to record what I was doing in real time. This meant I could then show what I was doing and edit more explanatory text in post production. I then gathered the clips together and edited them in Final Cut Pro. This is where I added text to different parts of some of the videos to give the viewer a better idea of what's going on. The screen and audio recorder could of been a useful asset in creating our own sound for our trailer, however, the surrounding environment meant there would be too much background noise interfering without sound.
|
